| Let's start
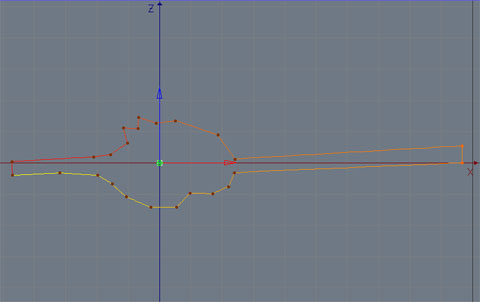
with the spline. Make a new empty spline object.
To place points hold the ctrl key and click in
the top view. Try to make a figure like on the
right picture. Click on the picture to enlarge. I
used a X size of 14.520 units and a Z size of
3.530. |
 |
Now do a second spline.
You may copy the first spline and move the
points.
|
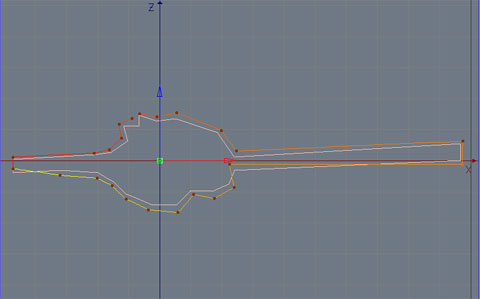 |
| And do a third spline and
move the points again. You do not have to copy
the splines on the right exactly. It's more a
clue. May be for the first time you try this
figure to get familiar with the technique. |
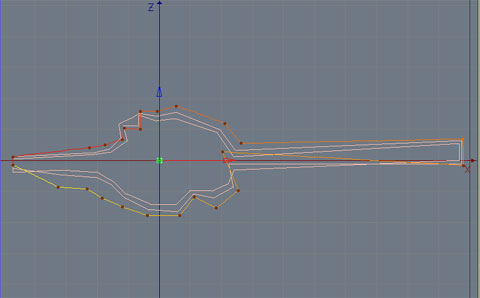 |
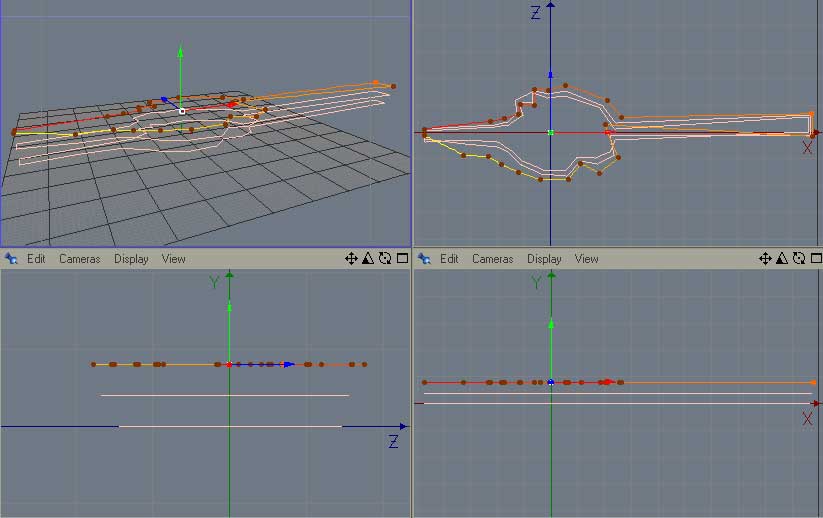
| Now move your second
spline 400 units in +Z direction and third spline
800 units in +Z direction. Use the coordinates
manager to do this. Be aware to use the object
tool. Your views should be similar to the one on
the right. |
 |
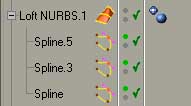
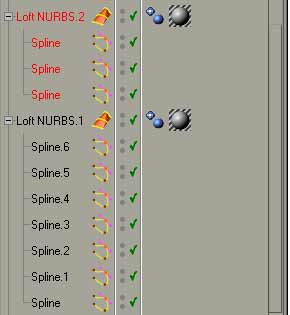
| Now you should make a
loft nurb (Objects-> Nurbs-> Loft NURBS)
and throw the splines into. Your OM (Object
Manager) should look like this. |
 |
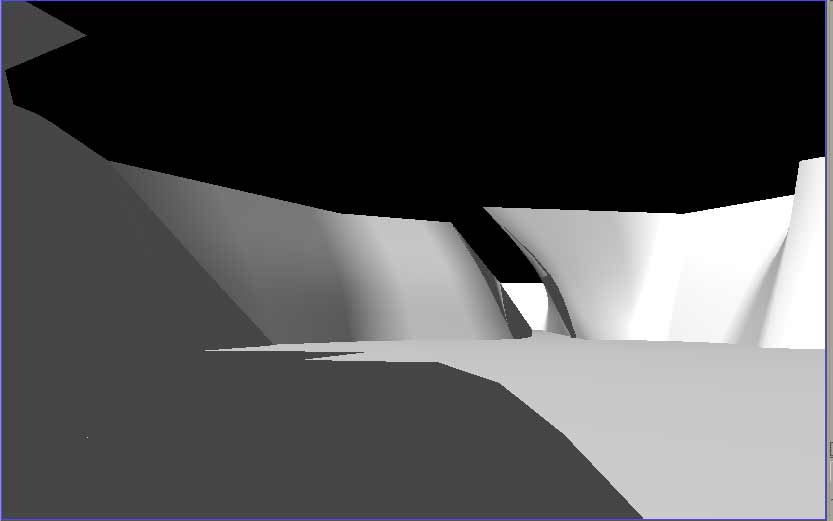
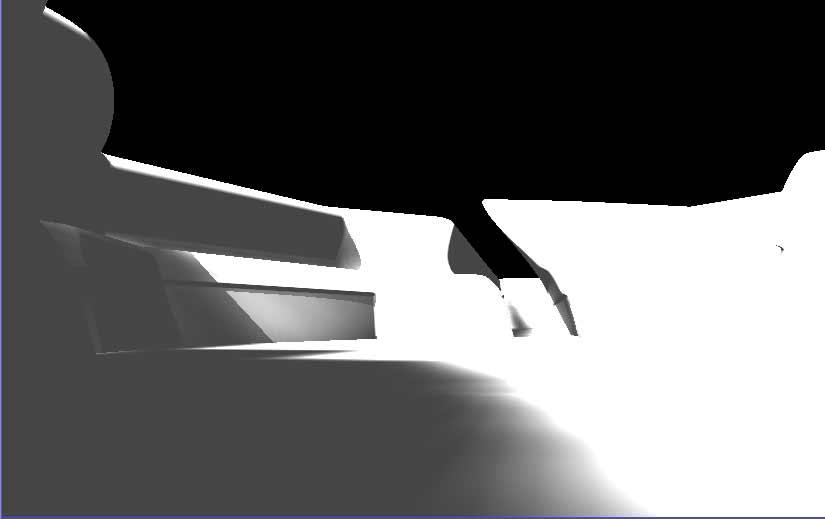
And your views should
look like this. And if you are into it, you could
place a camera. Try to get the position shown on
the right and activate the camera. (view
window-> Camera-> Scene Camera->
Camera). One word on the Loft NURB. Meshes are
always critical :). First you have to proof how
narrow your Mesh is. The standard is:
| Standard: |
|
I used: |
| Isoparm Sub=10 |
|
Isoparm Sub=250 |
| Mesh U Subdiv=30 |
|
Mesh U Subdiv=250 |
| Mesh V Subdiv=10 |
|
Mesh V Subdiv=250 |
|
 |
Why? You will notice that Isoparm Subdivision is
nesseccary for your Mesh to stay in shape. With
the splines used here a subdivision of 80 should
be enough. You can see changes in your Mesh if
you change subdivision e.g. to 10. But the main
factor for the high parameters is to avoid shadow
problems.
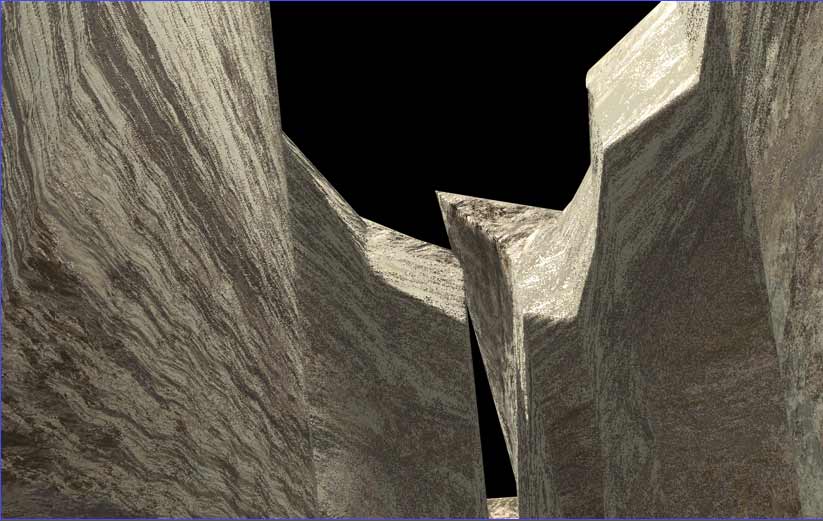
Now for your loft nurbs adjust the cap setting.
Set 'Start' to 'No Cap' and 'End' to 'CAP'. You
might place a light. Use a hard shadow and place
the light at X=-16.350, Y=15.200, Z=9.800. Your
picture should be similar to the one right. |
 |
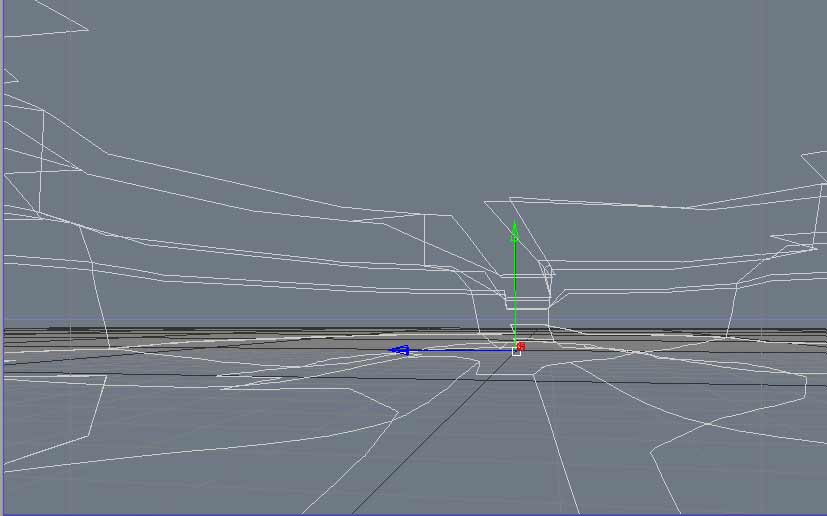
| If you experiment with
the modell you might modify it, use more splines
etc. For the final picture I used 7 splines for
the rocks and changed them slightly. For the
ground I copied the first spline I made. I copied
it 2 times and change the size with the scale
tool (I was too lazy :). You can do the same or
draw new splines. Keep in mind to have the same
number of points! That's how the modell looks
like. |
 |
| And that's how the OM
looks like. |
 |
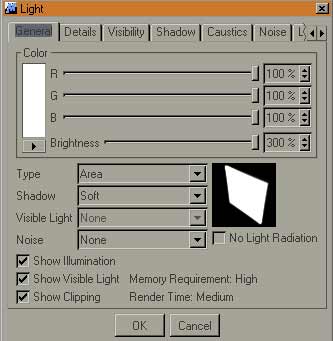
| Now one more thing about
lightning. Because Meshes are critical with the
existing version6-7 of c4d you can use a little
trick. I copied the first light and changed the
shadow to soft. I also changed the shadowmap to
1000 and I used an area light. You can see the
setting on the right. As you might notice I used
300% for the brightness. Well, it sometimes
depends on the materials and the effect you like
to create, no? |
|
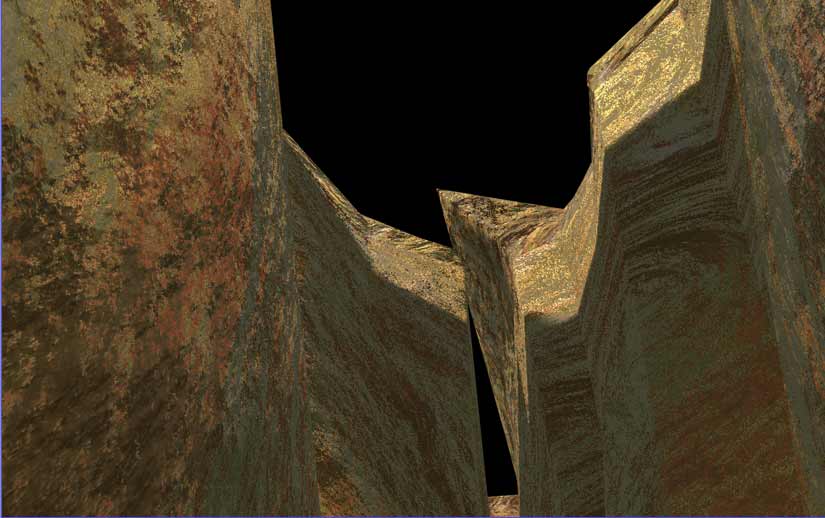
| Now, this is how it looks
without a material |
 |
| And this is how it looks
with material |
 |
| Or may be like this one? |
 |
| Or this? |
 |
| Or that? Sorry the
pictures and materials are not optimized for this
scene :) |
 |