Now we will
do a landscape with a bitmap. The following
example uses Bodypaint, because it has some
workflow advantages. If you work with a program
other than BodyPaint you may adopt the steps
shown.
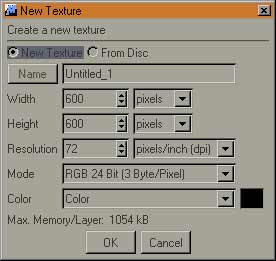
First create a new texture. In this case we use
the standard settings of BP.
The result should be a black picture. Because of
the layertechnique you can choose to paint on
selveral different layers. That might help you to
add or change things with a better control. |
 |
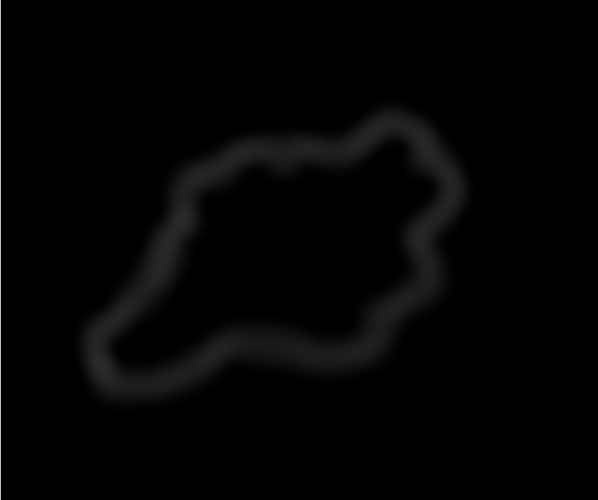
Now try to draw a figure
like the one on the right. I used the standard
Brush 'Lighten' at 50% size and 10% pressure,
guess this is the standard setting. I used a
'white' color with 30% brightness. Yes I know
it's pretty hard to see, but if we use white, we
might get problems if we change something.
Save the picture as land-1.psd within your model
folder or within the tex folder below your model
folder.
|
 |
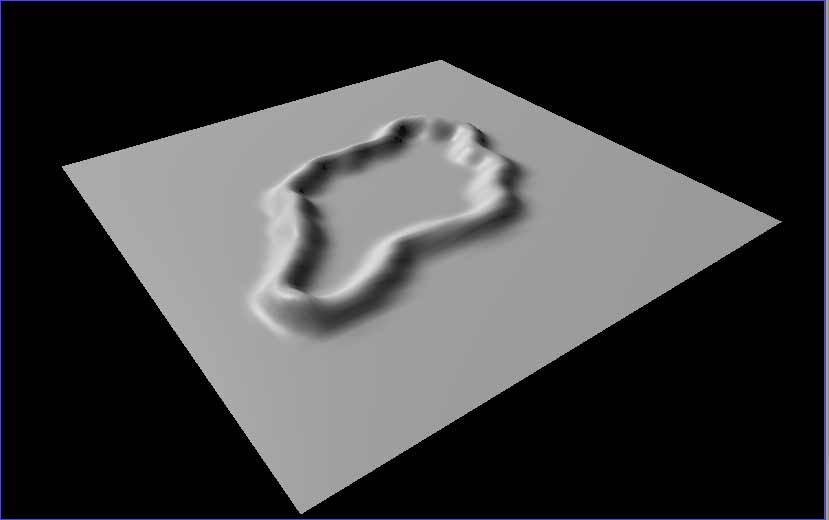
| Next switch to C4d editor
and make a new Relief Object. Open it and click
at the 'Image' button and choose the file
land-1.psd. If you render your picture you'll
should get something similar. I used a light with
hard shadows for that picture. |
 |
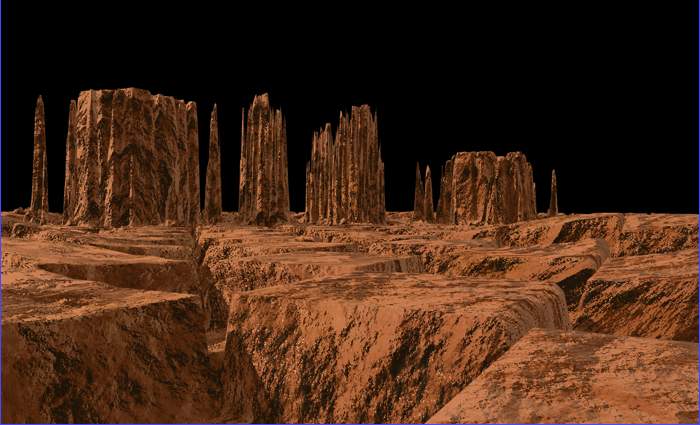
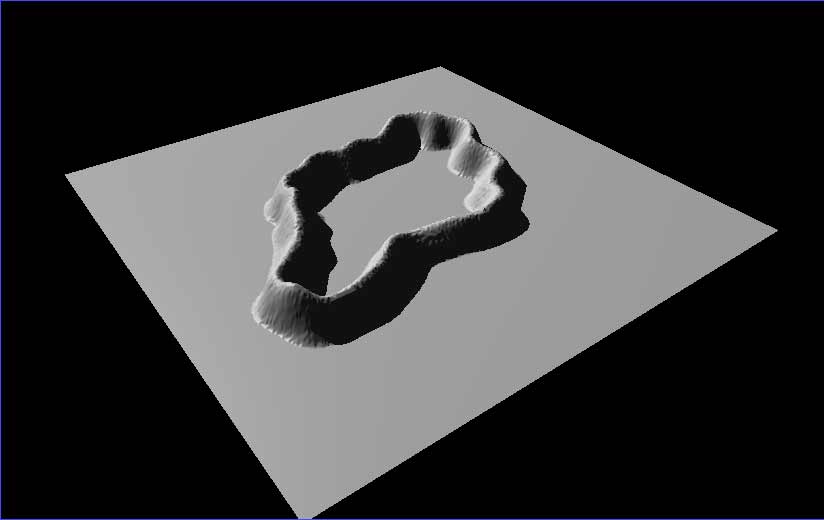
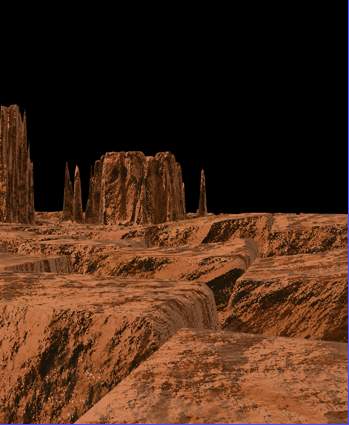
| If you change the Segment
settings from 100 to 600 you'll get something
like the one on the right. Not only the bitmap
gets a higher resolution, but also notice the
shadow! In addition I changed the height from 100
to 200. You can vary the parameter for segment to
feel comfortable with the speed. |
 |
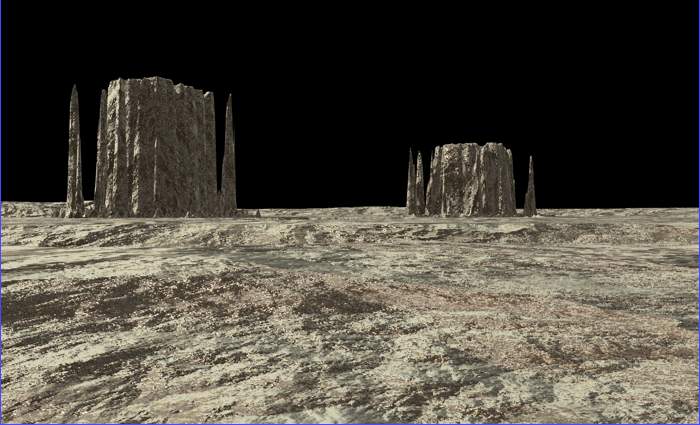
| Now place a camera,
similar to the one in the picture. Then we will
change the bitmap a little bit. |
 |
| If you compare this
bitmap with the first one, you'll see that there
are some additional white areas, well not really
white but brighter. Make a new layer and try it
too. The 'Lighten Brush was used with 5% pressure
and 40% size. With a gray color at 60%
brightness. |
 |
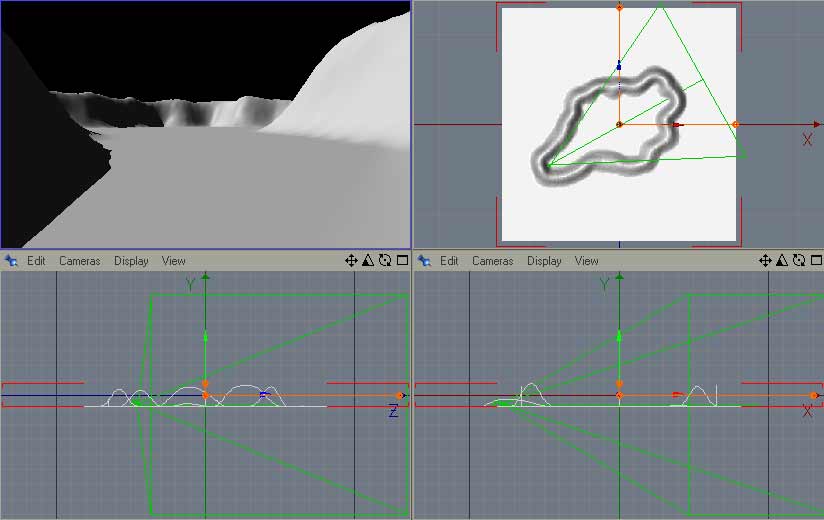
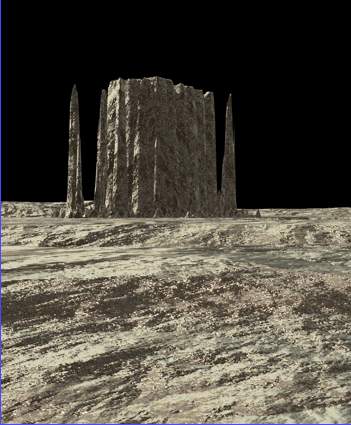
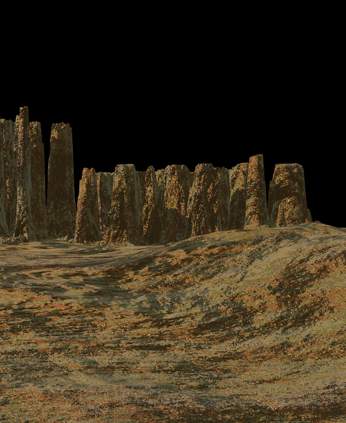
And this is what it looks
like in the editor window. Looks funny, doesn't
it. But keep in mind that this look depends on
the number of Segments you have!.
Note: If you use Bodypaint it's impossible to
draw directly in the editor view, but if you open
the Relief Object and close it with OK. Your new
bitmap is used. Please use a b3d file for this.
|
 |
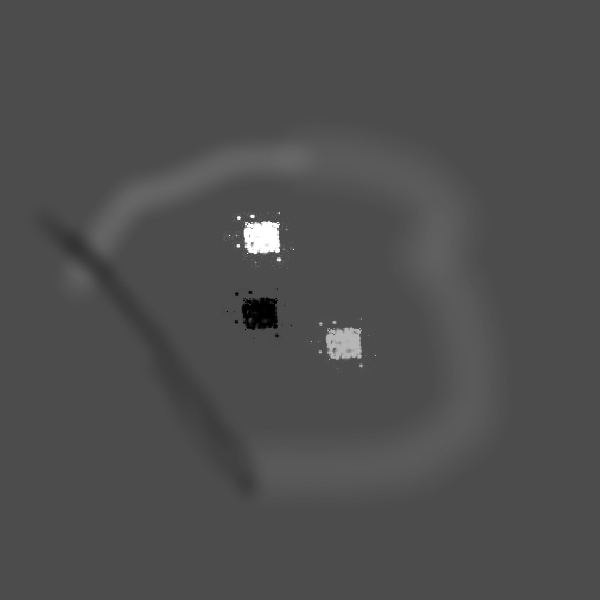
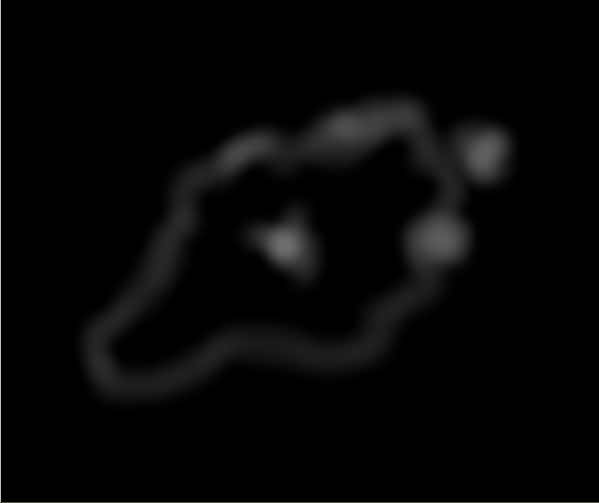
Next change. Here you can see the part close to
the camera. I turned off the background layer so
you can see what the brush named 'Chalk' did
(hopefully you can, if you click the picture).
From the upper right to the lower left I varied
the pressure and size of the brush. |
 |
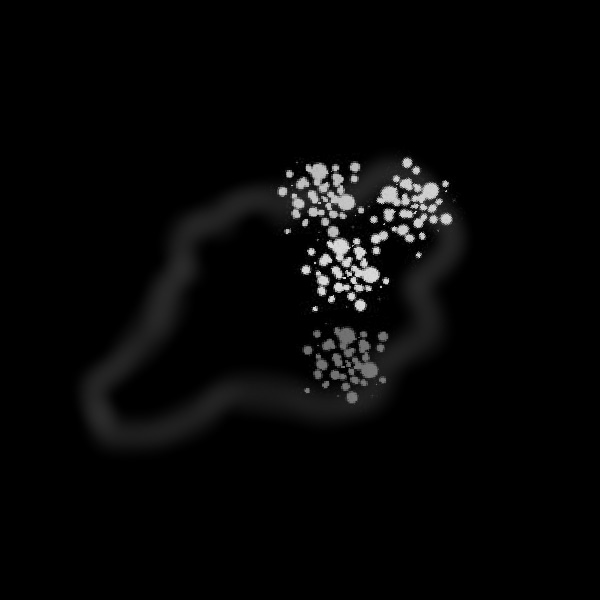
You can see all those
little dots from the 'Chalk' Brush. And you will
also notice that I used a dark color to 'burn'
wholes into the gray background.
This picture shows the location of the obove but
it has also dots in the middle part.
Hint?:
Please use layers if you can. At least you will
have three advantages. First you can throw it
away if you don't like it. Second you will not
destroy the things you did, third you are able to
give your layers a transparency and therefore you
will have a greater control. |
 |
Oh, I forgot, there is
a forth reason. You may combine the layers in a
different way.
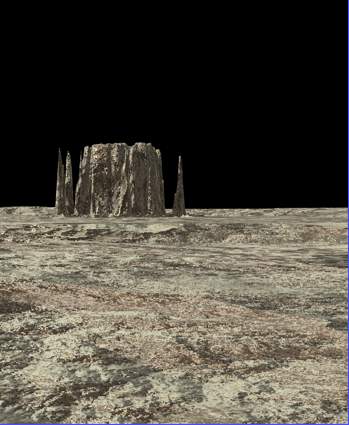
And this is how it looks
like with the small dots. You may notice the
little shadow distortion. Now it comes to the
point to take a closer look at the segment
resolution and may be the layer combination. The
little dots layer will be combined with the rest
(background) of the bitmap.
Go here to see the results --->
|
 |
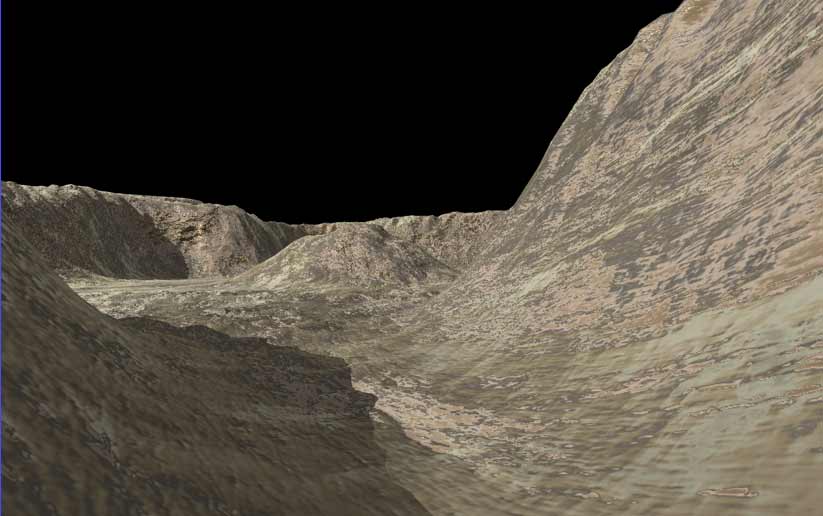
| Now let your toughts
free. You don't need more than 5 Minutes to
create all this landscapes. |
 |
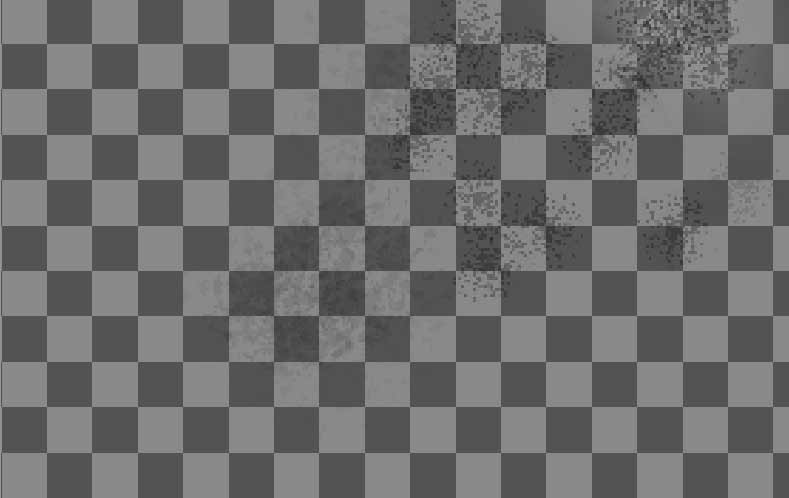
| Ups, sorry I
accidentially turned off the background. What you
see is the checkerbox that is not only visible
with bodypaint :)) |
  |
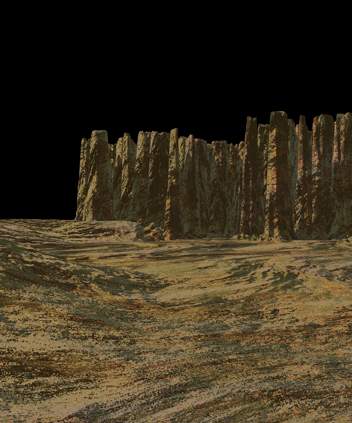
| Just two clicks of chalk.
That's just it. |
  |
| And some more chalk. |
  |
| One last word, you should
always keep in mind that the difference between
black and white is the lowest and highest point.
Everything between has to be some gray. |
|
| |
|